Showing posts with label Custom. Show all posts

Thursday, March 28, 2013

American Girl Fashion Show

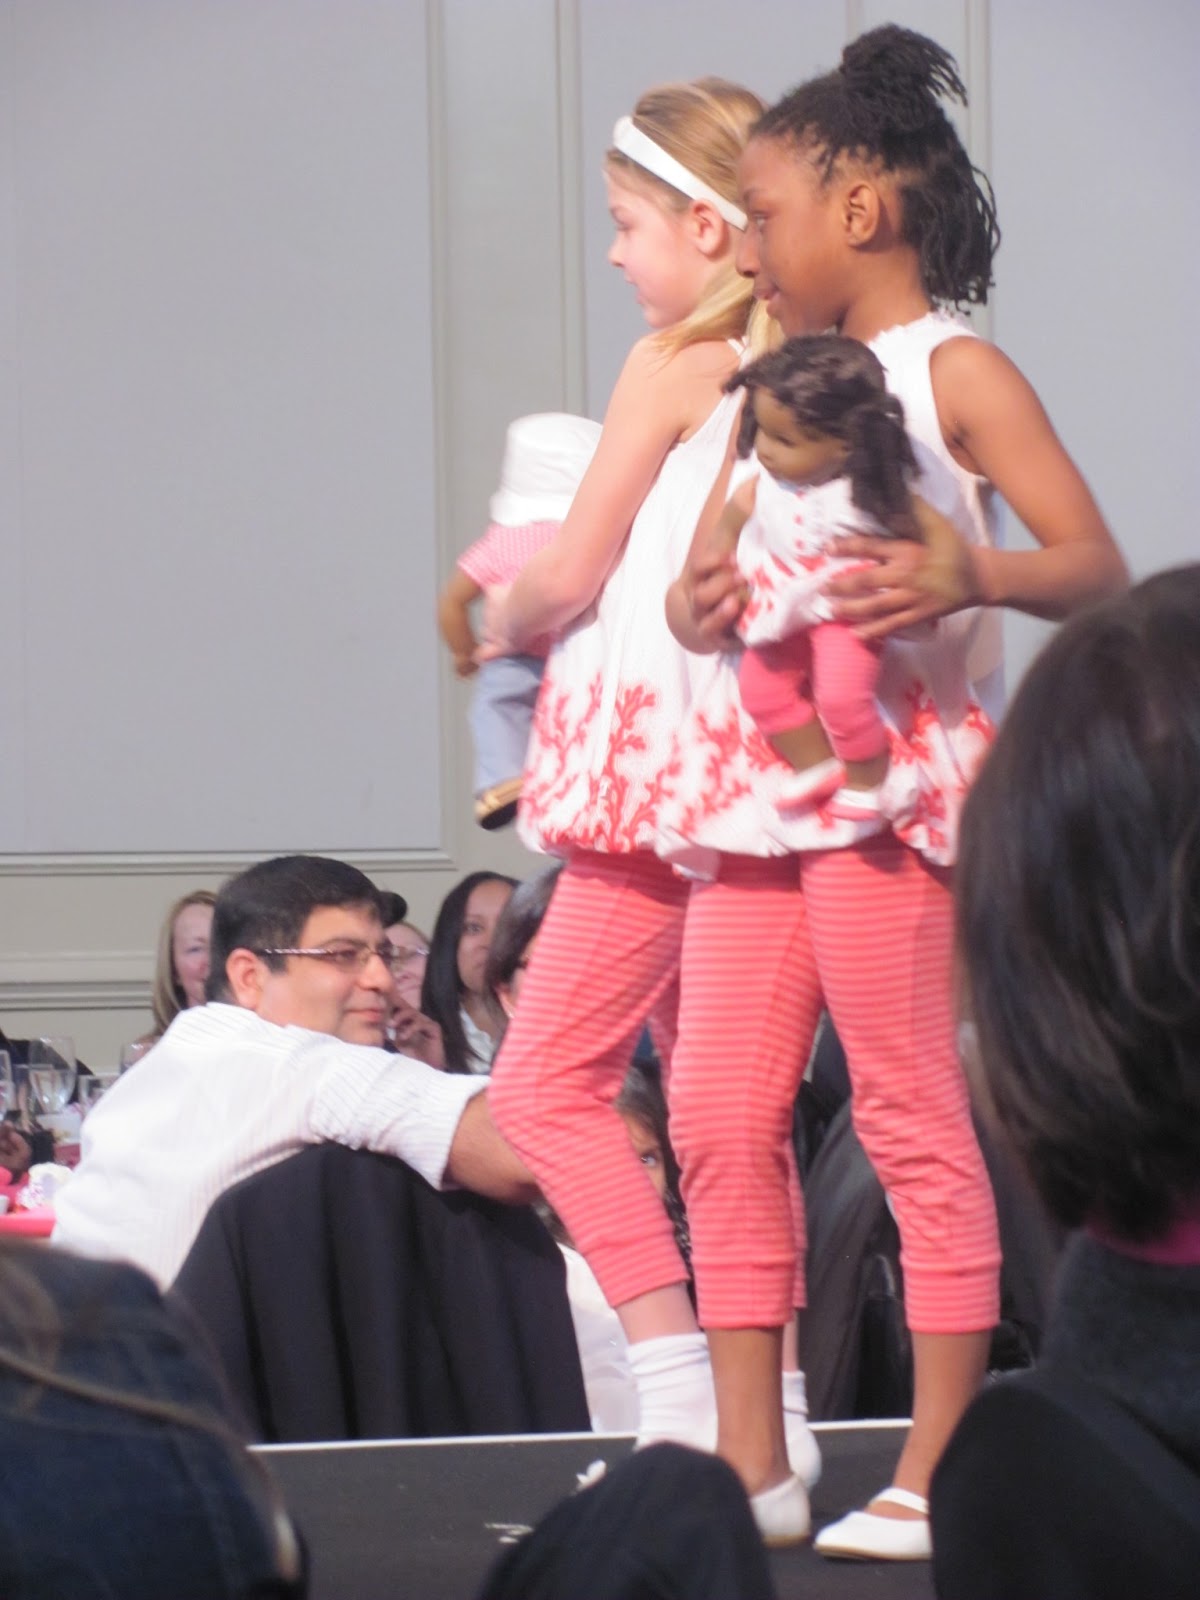
 We didn't tell Jacqueline anything about this event until the morning of! She was so excited to spend a day with just Mommy and when she found out we were headed to a fashion show she  couldn't stop smiling. 
We picked up our tickets and browsed the marketplace and other exhibits. There was a red carpet dress-up station where Jacqueline posed with her doll.
I was glad that I pre-ordered Jacqueline's keepsakes, as they sold out at the event. Jacqueline got a tote bag she can carry her doll in as well as matching flutter sleeve t-shirts.


We saw many of the historical and modern outfits come to life on the runway! These were a few of our favorite looks.


We rounded out the day with a sushi lunch date and spending time browsing the shelves of Barnes & Noble.

Tuesday, March 19, 2013

Blast from the Past

After a recent scare of thinking I had lost a huge chunk of digital pictures, I "forced" myself to look through all of my digital pictures to see if and where there were any gaps. That is when I came across these pictures from the Renaissance Festival. I made the girls' and my outfits in 2010 with extra material in the waistband and hem, so the girls could grow into them. In 2012 the idea was put to the test and it worked!


2010

2012


Sunday, March 17, 2013

American Girl Fashion Show

Only a week left until Jacqueline and I get to go to our first fashion together. I've been busy this weekend creating matching looks for her and her doll, as well as Easter outfits. I used purchased patterns for the childrens' clothing and then "dollified" each for the smaller version.

I couldn't be happier with how it all turned out!


The skirt and headband are for Alicia. The dress and headband are for Jacqueline.

Monday, February 11, 2013

Labor of Love, Part 2

So last week I shared how I made a matteras and pillow set for a doll bed. I had yet to create the linens. Guess what I've been up to?


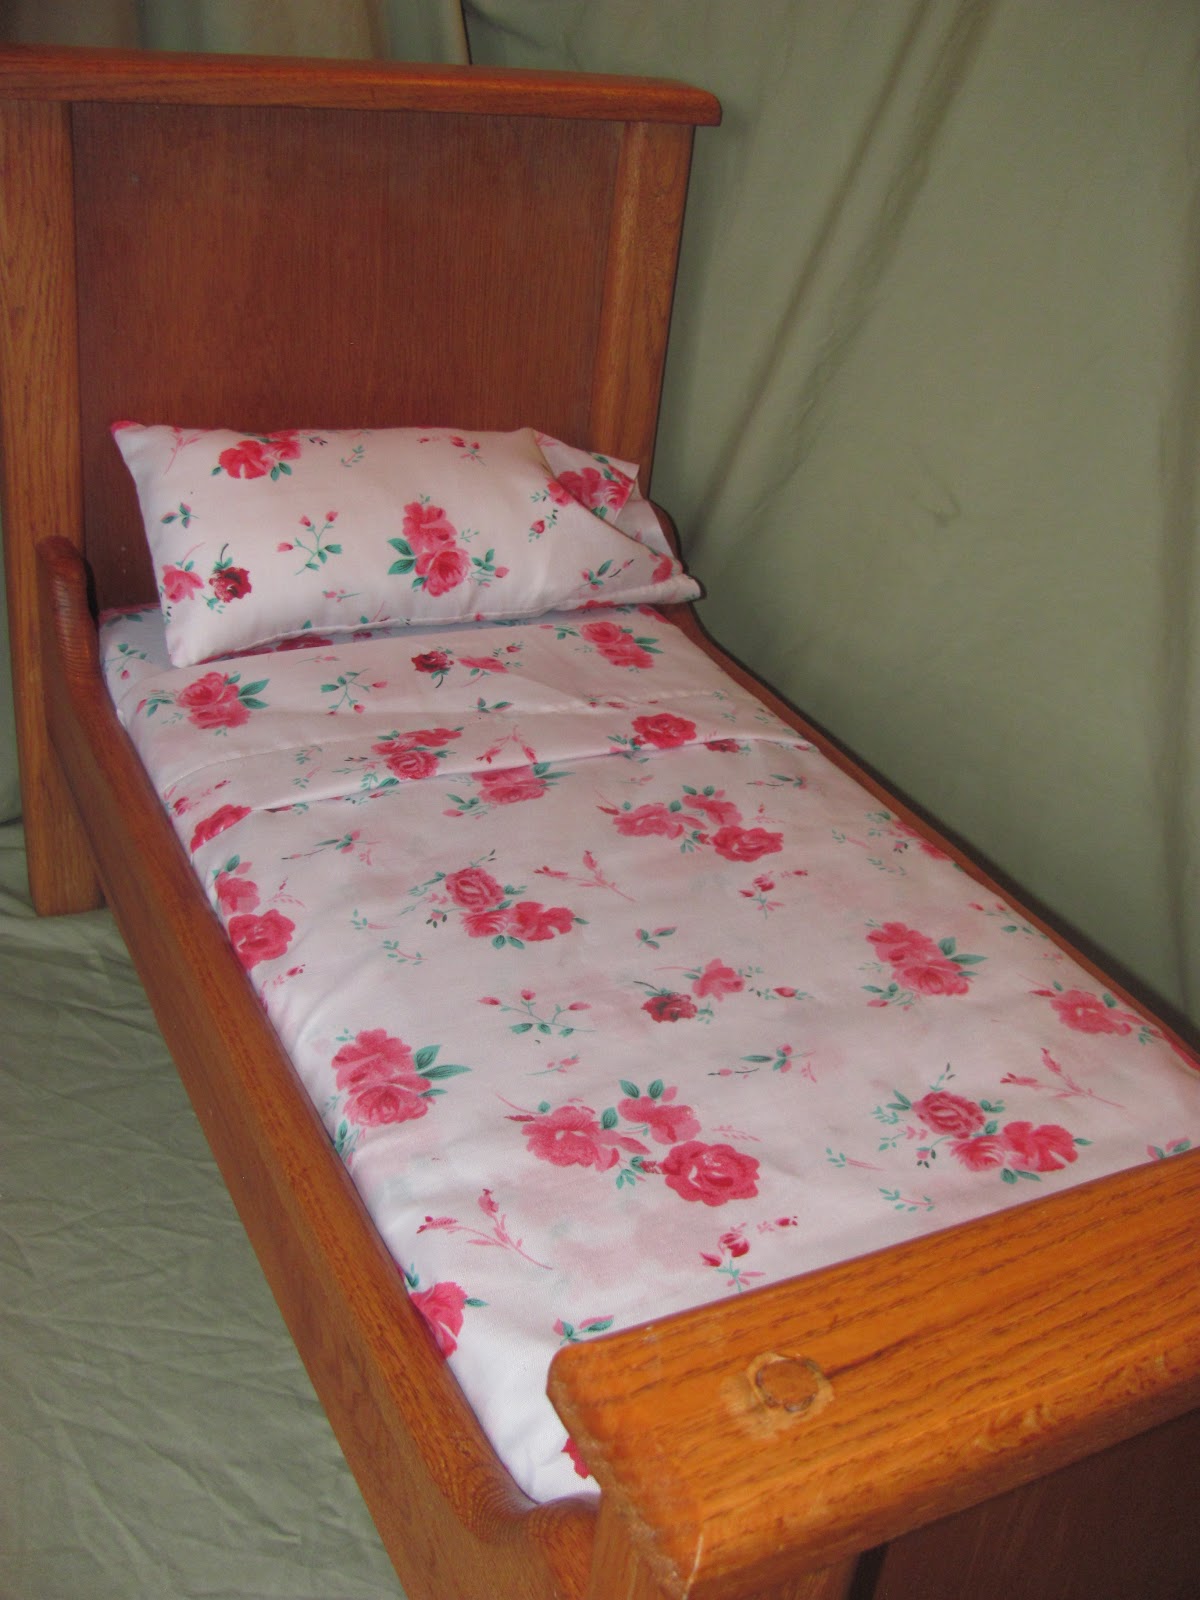
I created a matching set of sheets for my daughters' doll bed. The measurements for teh pillowcase were the pillows width + 1 inch by length + 3 inches. I sewed 2 long sides and one short side and finished the seam allowances. I hemmed the opening with a 1 inch allownace as to give it a realistiv look.

The top sheet and fitted sheet are cut the same size: matteras length + depth + depth by width + depth + depth. The top sheet is finished with a 1/2 inch rolled hem on two long sides and one short side. The final short side is a 2 inch hem.

 
To create the bottom sheet I created a 1/2 inch hem around all for sides and threaded 1/4 inch elastic through. 


Tada! The girls are so happy that they have a bed for their dolls. 

Saturday, February 9, 2013

Labor of Love, Part 1

When I was expecting my daughter within my extended family there were 5 young women pregnant with 6 girls. My husband's grandfather made as an heirloom present doll beds. I let my kids play with it, but within the first year it had received so much play time I had to put it away until my kids could play with it more responsibly.  
 
Fast forward several years. I had been on a mission to find replacement slats with no luck. I didn't stop looking whenever I was in a home improvement store, but I had given up hope. However, when I was on another errand in early January I finally found a solution!
 
 
I now had the bed's base fixed so I needed to create the bedding to preserve the restoration. I got dense foam cushions that is meant for outdoor chair cushions and is washable. I cut it to size by taking the inner measurements of the bed minus 1/2 inch off the width and length.
 
I found this light-blue pre-quilted material at Wal*mart. The matteras cover consists of three pieces; top, bottom and side strip. The top and botom are identical in size; matteras width + 1 inch by length +1 inch. The side strip's size: matteras depth + 1 inch by width + length + width + length + 1 inch. (Note: the 1 inch is the seam allowance of 1/2 inch on each side)
 
 
After sewing the side stip's short ends together, I attached it to all four sides of the top piece of the matteras covering. I then sewed two long sides and one short side of the bottom piece. I trimmed the corners to remove the bulk of the seam allowance and turned it right side out. I placed the cushion in the matteras cover and pinned the opening in place. I chose to sew this by hand, but the sewing machine would work as well.
 
 
Finally, I created a pillow from an extra pillow we had laying around. No measurements for this, I just eyeballed it.
 
 
So now all I have to do is make linens! I can't wait to share it with you.