This week has been busy and very productive! I now have two individual sessions and one group session each week. In each of my classes we were able to created a variety of projects with quite a varied range of techniques.
During the winter season, I love to make snow paint. It's easy to make (1 part shaving cream to 1 part white glue) and when it dries it stays puffy. It even keeps it's adhesive qualities, so beads and glitter can be held by the paint alone. I had a printed snowman outline on cardstock that the kids cut out as well as a precut stencil for them to trace. We roughly measured our ingredients and mixed them in a cup. I let them transfer the paint as they wished inside the lines. Then we practiced circular brushstrokes, first hand over hand and then freehand. We talked about faces, particularly eyes, noses and mouths, and then I let them decorate their painting with beads and ribbon.
While we let our snowman dry, we moved onto beading glitter pipe cleaners that can be hung as ornaments.
Since beading is a high-interest activity, it was done in now time at all. So off to the next project. We started by tracing a circle as a guideline. We used the bingo dauber to follow the circle. One of the kids started daubing in the rhythm of Jingle Bells, so I started to sing along. We dotted glue onto the wreath and added our pompoms. Then we swirled more glue on top and added glitter and a pre-made pipe cleaner bow.
Our last project of the day was an ornament that incorporated quite a few different techniques. We traced a circle and cut it out. Then I let color with their choice of crayon colors. I drew a smaller circle on the back of their ornament and then asked the kids to use the hole punch all the way around. The kid's chose what they wanted to lace with and dependent on ability were asked to add beads to their lacing.
Our group session is a bit more energetic, so I am unable to take pictures. However, I was able to recreate the projects at home. The kids were asked to trace and cut a symmetrical Christmas tree stencil, one on green construction paper and a second on white cardstock. They cut both while layered together, so they would match when we adhere them together later on. The white tree is decorated and the green is left 'clean'. We placed a straw in between the trees and affixed them. We put it to the side, so the glue had a chance to set.
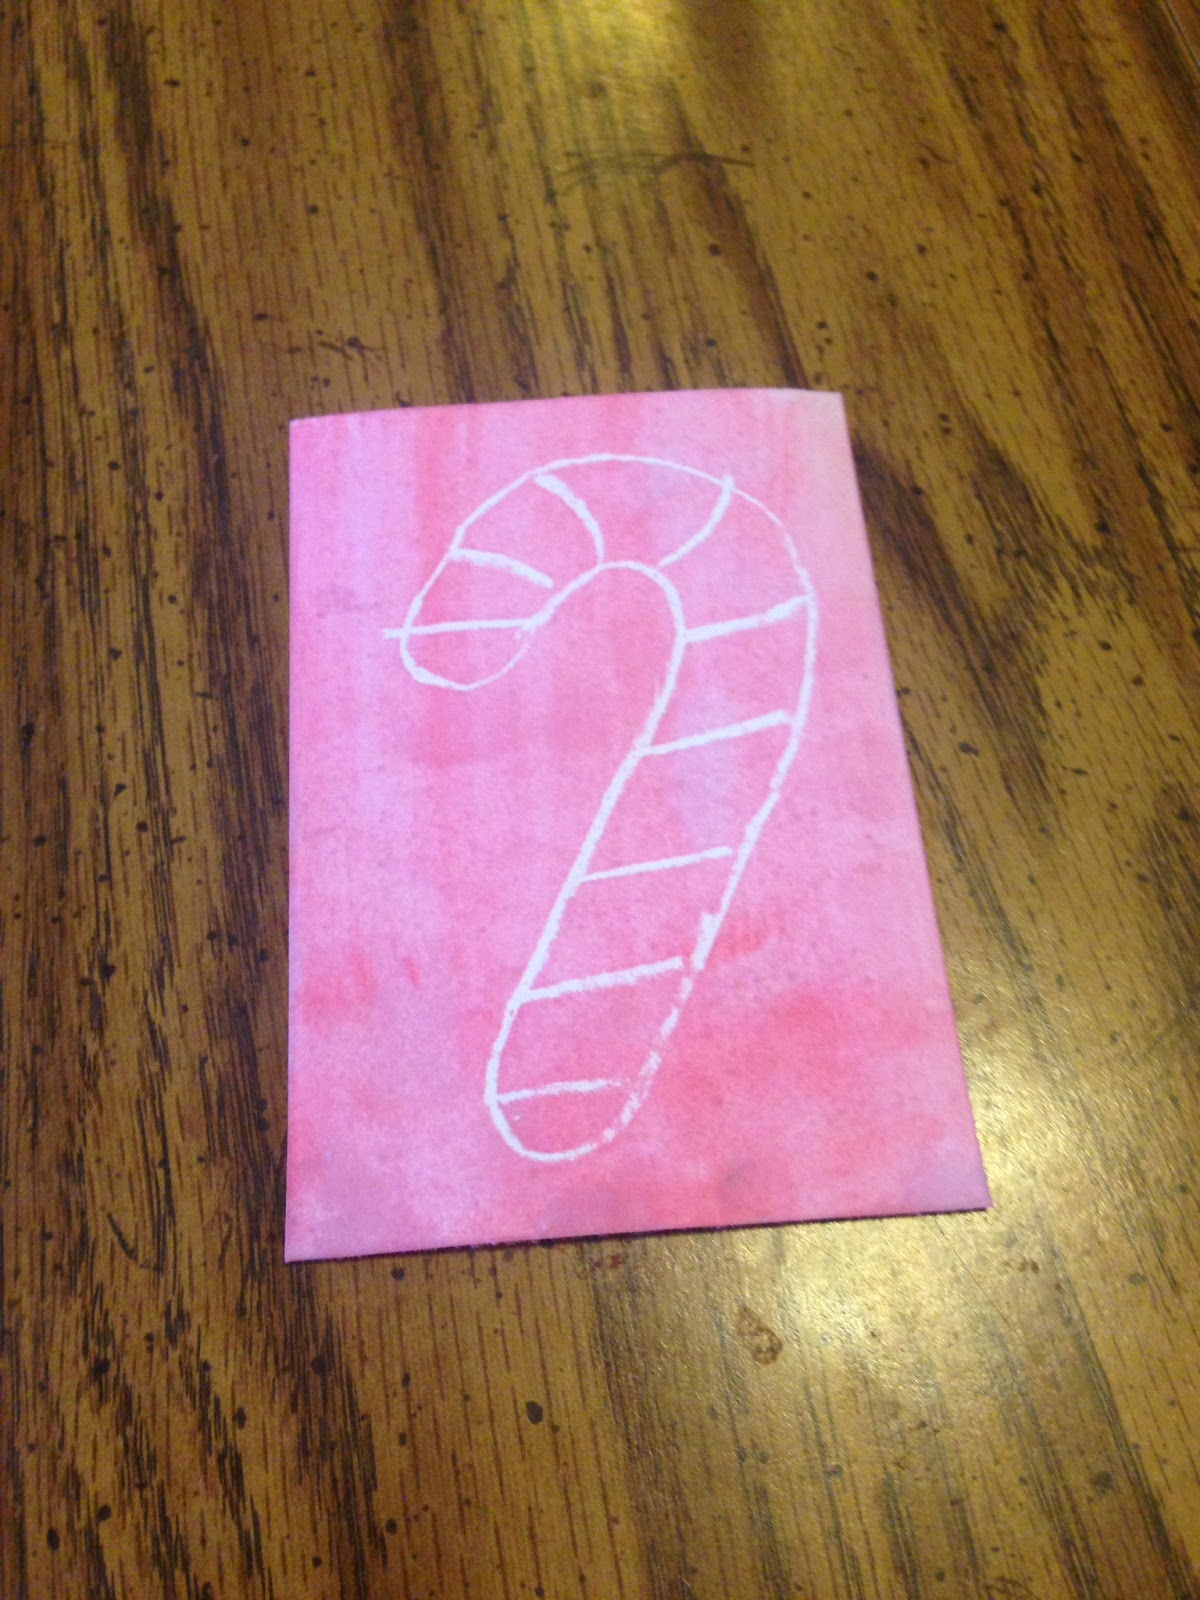
This is a quick project I like to use year-round. It takes some preparation, but it is always puts a smile on the kids' faces. I hand them each this seemingly blank paper.
Then, we paint them with watercolors. This week, I made the kids choose between red or green. And one they had a chance to dry we layered and glued their paintings onto cards.
Now that the Christmas tree spinner's glue is set we were able to play with it now. By placing the straw in between the palms of our hands and rubbing them back and forth in opposite directions to make the tree spin, we create the optical illusion of a decorated tree!
So that was our busy couple of days. I now know when we are on task and motivated that we can create quite a lot! I have to make sure I have my bag packed and ready for infinite creations!


No comments:
Post a Comment