Wednesday, January 14, 2015

Moving Ahead in 2015!

Happy New Year!


After over a month of illness, I am back in my blogging seat! I've been planning while I've been recuperating and boy, do I have great plans for this upcoming year! I am dividing this blog of all of my artistic endeavors into several focused blogs. I can't wait to unveil them as they are created over the next couple of weeks!

Friday, December 12, 2014

This week in Sensory Art

This week has been busy and very productive! I now have two individual sessions and one group session each week. In each of my classes we were able to created a variety of projects with quite a varied range of techniques.

During the winter season, I love to make snow paint. It's easy to make (1 part shaving cream to 1 part white glue) and when it dries it stays puffy. It even keeps it's adhesive qualities, so beads and glitter can be held by the paint alone. I had a printed snowman outline on cardstock that the kids cut out as well as a precut stencil for them to trace. We roughly measured our ingredients and mixed them in a cup. I let them transfer the paint as they wished inside the lines. Then we practiced circular brushstrokes, first hand over hand and then freehand. We talked about faces, particularly eyes, noses and mouths, and then I let them decorate their painting with beads and ribbon.


While we let our snowman dry, we moved onto beading glitter pipe cleaners that can be hung as ornaments.


Since beading is a high-interest activity, it was done in now time at all. So off to the next project. We started by tracing a circle as a guideline. We used the bingo dauber to follow the circle. One of the kids started daubing in the rhythm of Jingle Bells, so I started to sing along. We dotted glue onto the wreath and added our pompoms. Then we swirled more glue on top and added glitter and a pre-made pipe cleaner bow.

Our last project of the day was an ornament that incorporated quite a few different techniques. We traced a circle and cut it out. Then I let color with their choice of crayon colors. I drew a smaller circle on the back of their ornament and then asked the kids to use the hole punch all the way around. The kid's chose what they wanted to lace with and dependent on ability were asked to add beads to their lacing. 


Our group session is a bit more energetic, so I am unable to take pictures. However, I was able to recreate the projects at home. The kids were asked to trace and cut a symmetrical Christmas tree stencil, one on green construction paper and a second on white cardstock. They cut both while layered together, so they would match when we adhere them together later on. The white tree is decorated and the green is left 'clean'. We placed a straw in between the trees and affixed them. We put it to the side, so the glue had a chance to set. 


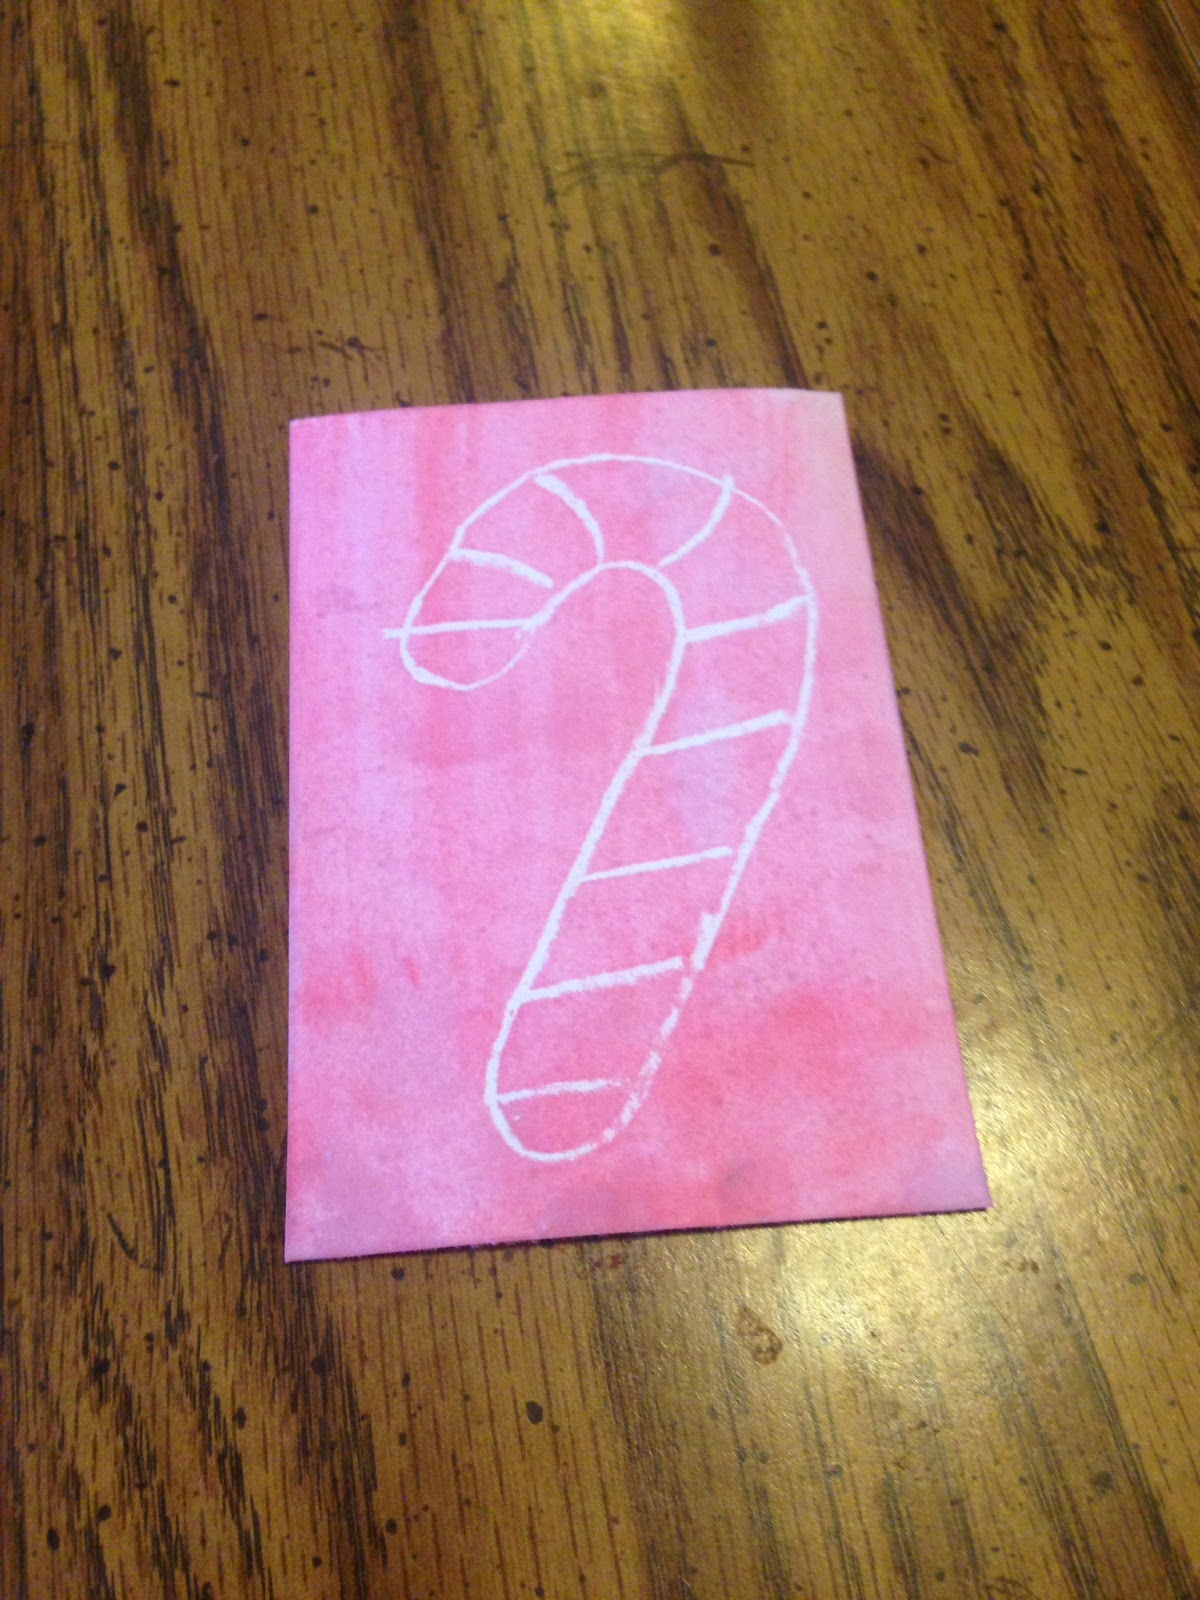
This is a quick project I like to use year-round. It takes some preparation, but it is always puts a smile on the kids' faces. I hand them each this seemingly blank paper.

 
 In actuality, I've already drawn a picture with white or clear crayon. (I stockpile them from Easter egg dying kits and larger crayon packs).

Then, we paint them with watercolors. This week, I made the kids choose between red or green. And one they had a chance to dry we layered and glued their paintings onto cards.
 

Now that the Christmas tree spinner's glue is set we were able to play with it now. By placing the straw in between the palms of our hands and rubbing them back and forth in opposite directions to make the tree spin, we create the optical illusion of a decorated tree!

So that was our busy couple of days. I now know when we are on task and motivated that we can create quite a lot! I have to make sure I have my bag packed and ready for infinite creations!

Thursday, November 6, 2014

Tree of Thanks

For those of you who 'Follow' my Facebook page, you know that on Election day the kids and I created our Tree of Thanks. This is something that I have wanted to do for quite a few years, but have never accomplished. Now I get to check of one more project off of my C.R.A.F.T.ing bucket list!

I started by finding a quote/printable that embraced the purpose of this project.


 Our hallway wall is the perfect canvas and is highly visible throughout our day. I used packaging filler paper to created the tree infrastructure.


 I added a carved heart to the trunk.


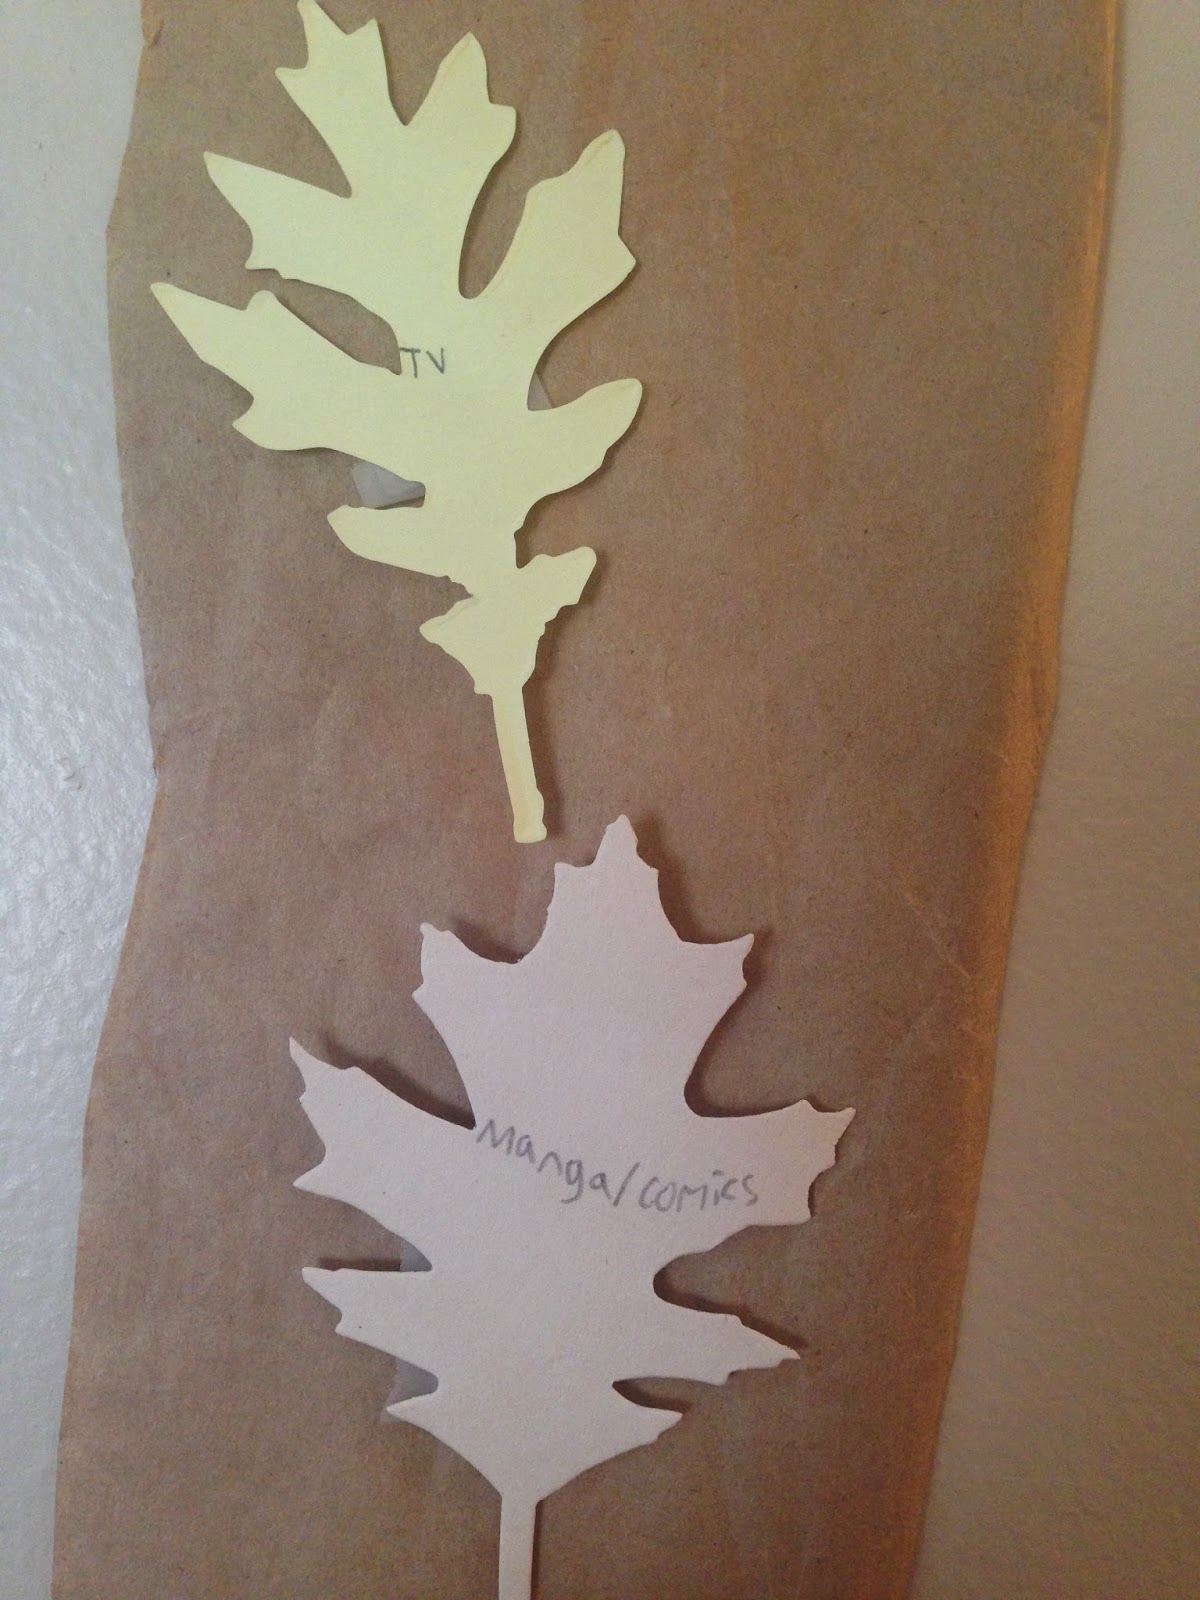
The kids and I sat down and chose appropriate leaf colors for this project. We then wrote individual things that we are thankful for on each leaf and then taped them onto the tree. When Senior came home, he wrote his and hung them as well. Here's what it looked like when we completed it. I am definitely going to save these leaves and create a scrapbook page layout with them!


I smile every time I walk past the tree. My kids showed great insight with their thanksgiving. My oldest's first two leaves; George Washington and Democracy. Then he listed the Japenese kanji symbols he knows, along with Huego, Manga, TV, video games, friends and family.


 My oldest daughter's: sunshine, wind, ocean, candy, peace, Halloween, animals, school, sports, love, her siblings, presidents, clothes, house, family, Barbies, love, Huego, friends, food, the earth, and The Regular Show.


My youngest daughter is a kindergartner and LOVES to write. So, she told me what she was thankful for and I wrote it on a scrap piece of paper which she than copied. Her leaves: help. love, water, clothes, Mom, Dad, Hayden, brother, sister, hair, Aunts, Uncles, Jack, Connor, toys, Grandmas, Grandpas, GGmom, and shoes.


Senior's: My wife, my son, my daughters. 


 I was at the table for quite a while and may have gotten too detailed. I made sure to include our household's members, immediate family members, tangible items as well abstract.


Do you have any Thanksgiving traditions?


Tuesday, October 28, 2014

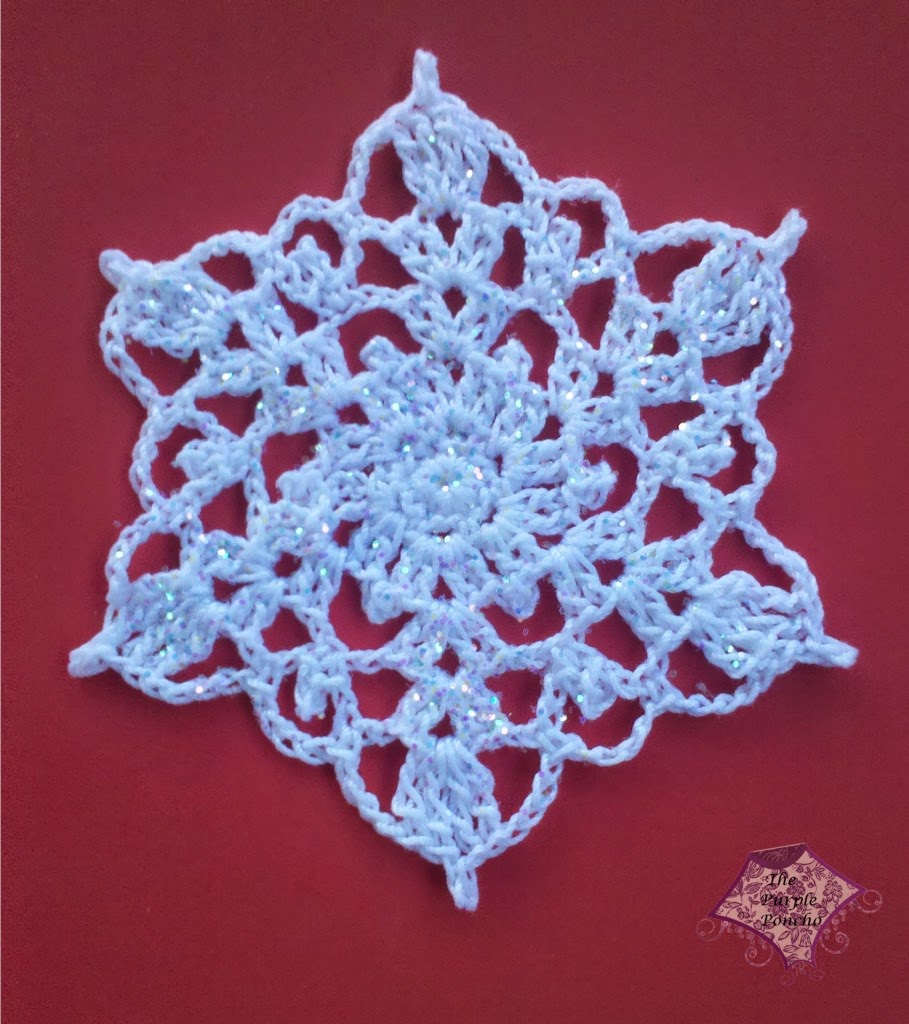
Crocheted Snowflakes

I don't want to alarm anyone, but there are only 58 days until Christmas!!! And that means only 31 days until I have to set up and decorate our Christmas tree!

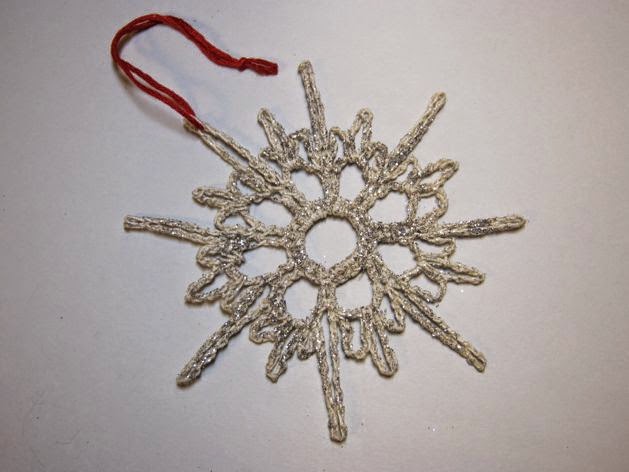
Our tree has transformed over the years; From real to artificial to real, monochromatic to colorful, glass bulbs to kids' keepsakes. The only ornament that has always been on all of these trees has been my simple, starched, white crocheted snowflakes. So, this year I am on a mission to created more and not have any repeated creations because each snowflake is unique!


  Here are the patterns I have found and am working from:


40


(no picture)


(no picture)


Last and definitively not the least!!!!!


Snowcatcher.com - Snowcatcher Snowflake Directory (200+ patterns!!!!)

I will be sharing my creations as they are made and I would love to see any that you create as well! Post a picture or a link in the comments below.